Saving Badly Photographed Images in Lightroom and Photoshop
We take bad photographs. It happens. For the most part, it’s no big deal. We just delete the image files after chimping, and move on to the next. But what do you do if a bad photograph has something worth saving? What if it was an image that documented something that you really REALLY wanted to keep?
Especially in street photography, bad images do happen from time to time. You can’t help it. You cannot predict every opportunity. Things happen unexpectedly, and sometimes your camera or your focusing distance is not in the right position. I suppose you could just comfort yourself by accepting that this wasn't meant to be, and let that opportunity slip by your shutter finger. But come on, how uninspiring is that. If there is even an ounce of hope, you take that Hail Mary long shot. Having a chance of a decent photograph is better than having none at all.
For the most part, I’ve been rather lucky when it comes to these sudden opportunities, largely because of practice, which seemed to have quickened my reflexes. But even with cat-like response time to split second photo ops popping up in front of my face, screw-ups do happen. I'm only human. Sometimes, my focus is off. Other times, my shutter speed is off. And sometimes, my angle of shooting is off - way WAY off. And then there are times when I’ve been off with everything that you can think off. That’s when it gets really tricky.
Thankfully, there is always Lightroom and Photoshop to the rescue, for when your shot is very VERY off. In this write-up, I will outline the few screw-ups I've shot that required extensive work in Lightroom and Photoshop to save.
Probably one of my favorite images. This was shot with a 28mm f/1.4 Nikkor lens, with the bulk of the subject shot at the left hand bottom corner. To save this image, I had to crop the image, straighten the image's rotation slightly, and do an extensive amount of vertical and horizontal transformation in Lightroom. After that, I had to export the image file in large resolution to Photoshop, where I had to skew the image some more in order to get the rest of the distortion fixed. And because I shot this image, while jogging, the image was slightly out of focus. A camera shake reduction was done to sharpen the out of focus bit. When that was all done, I downsized the image, in order to bring the pixels together, in hopes of optically sharpening the image some more. After that, the image became usable.
This was another image that came from a sudden photo opportunity. I had just turned the corner on the street, saw the subject turn around. My camera wasn't in position, but I still took the shot. In the end, the image was off in rotation. And when I transformed the image to fix it, the main subject's hair line was cut off. However, with Photoshop's content-awareness tools, I was able to incrementally save the subjects hairline after a rotational crop. Now, the image is usable.
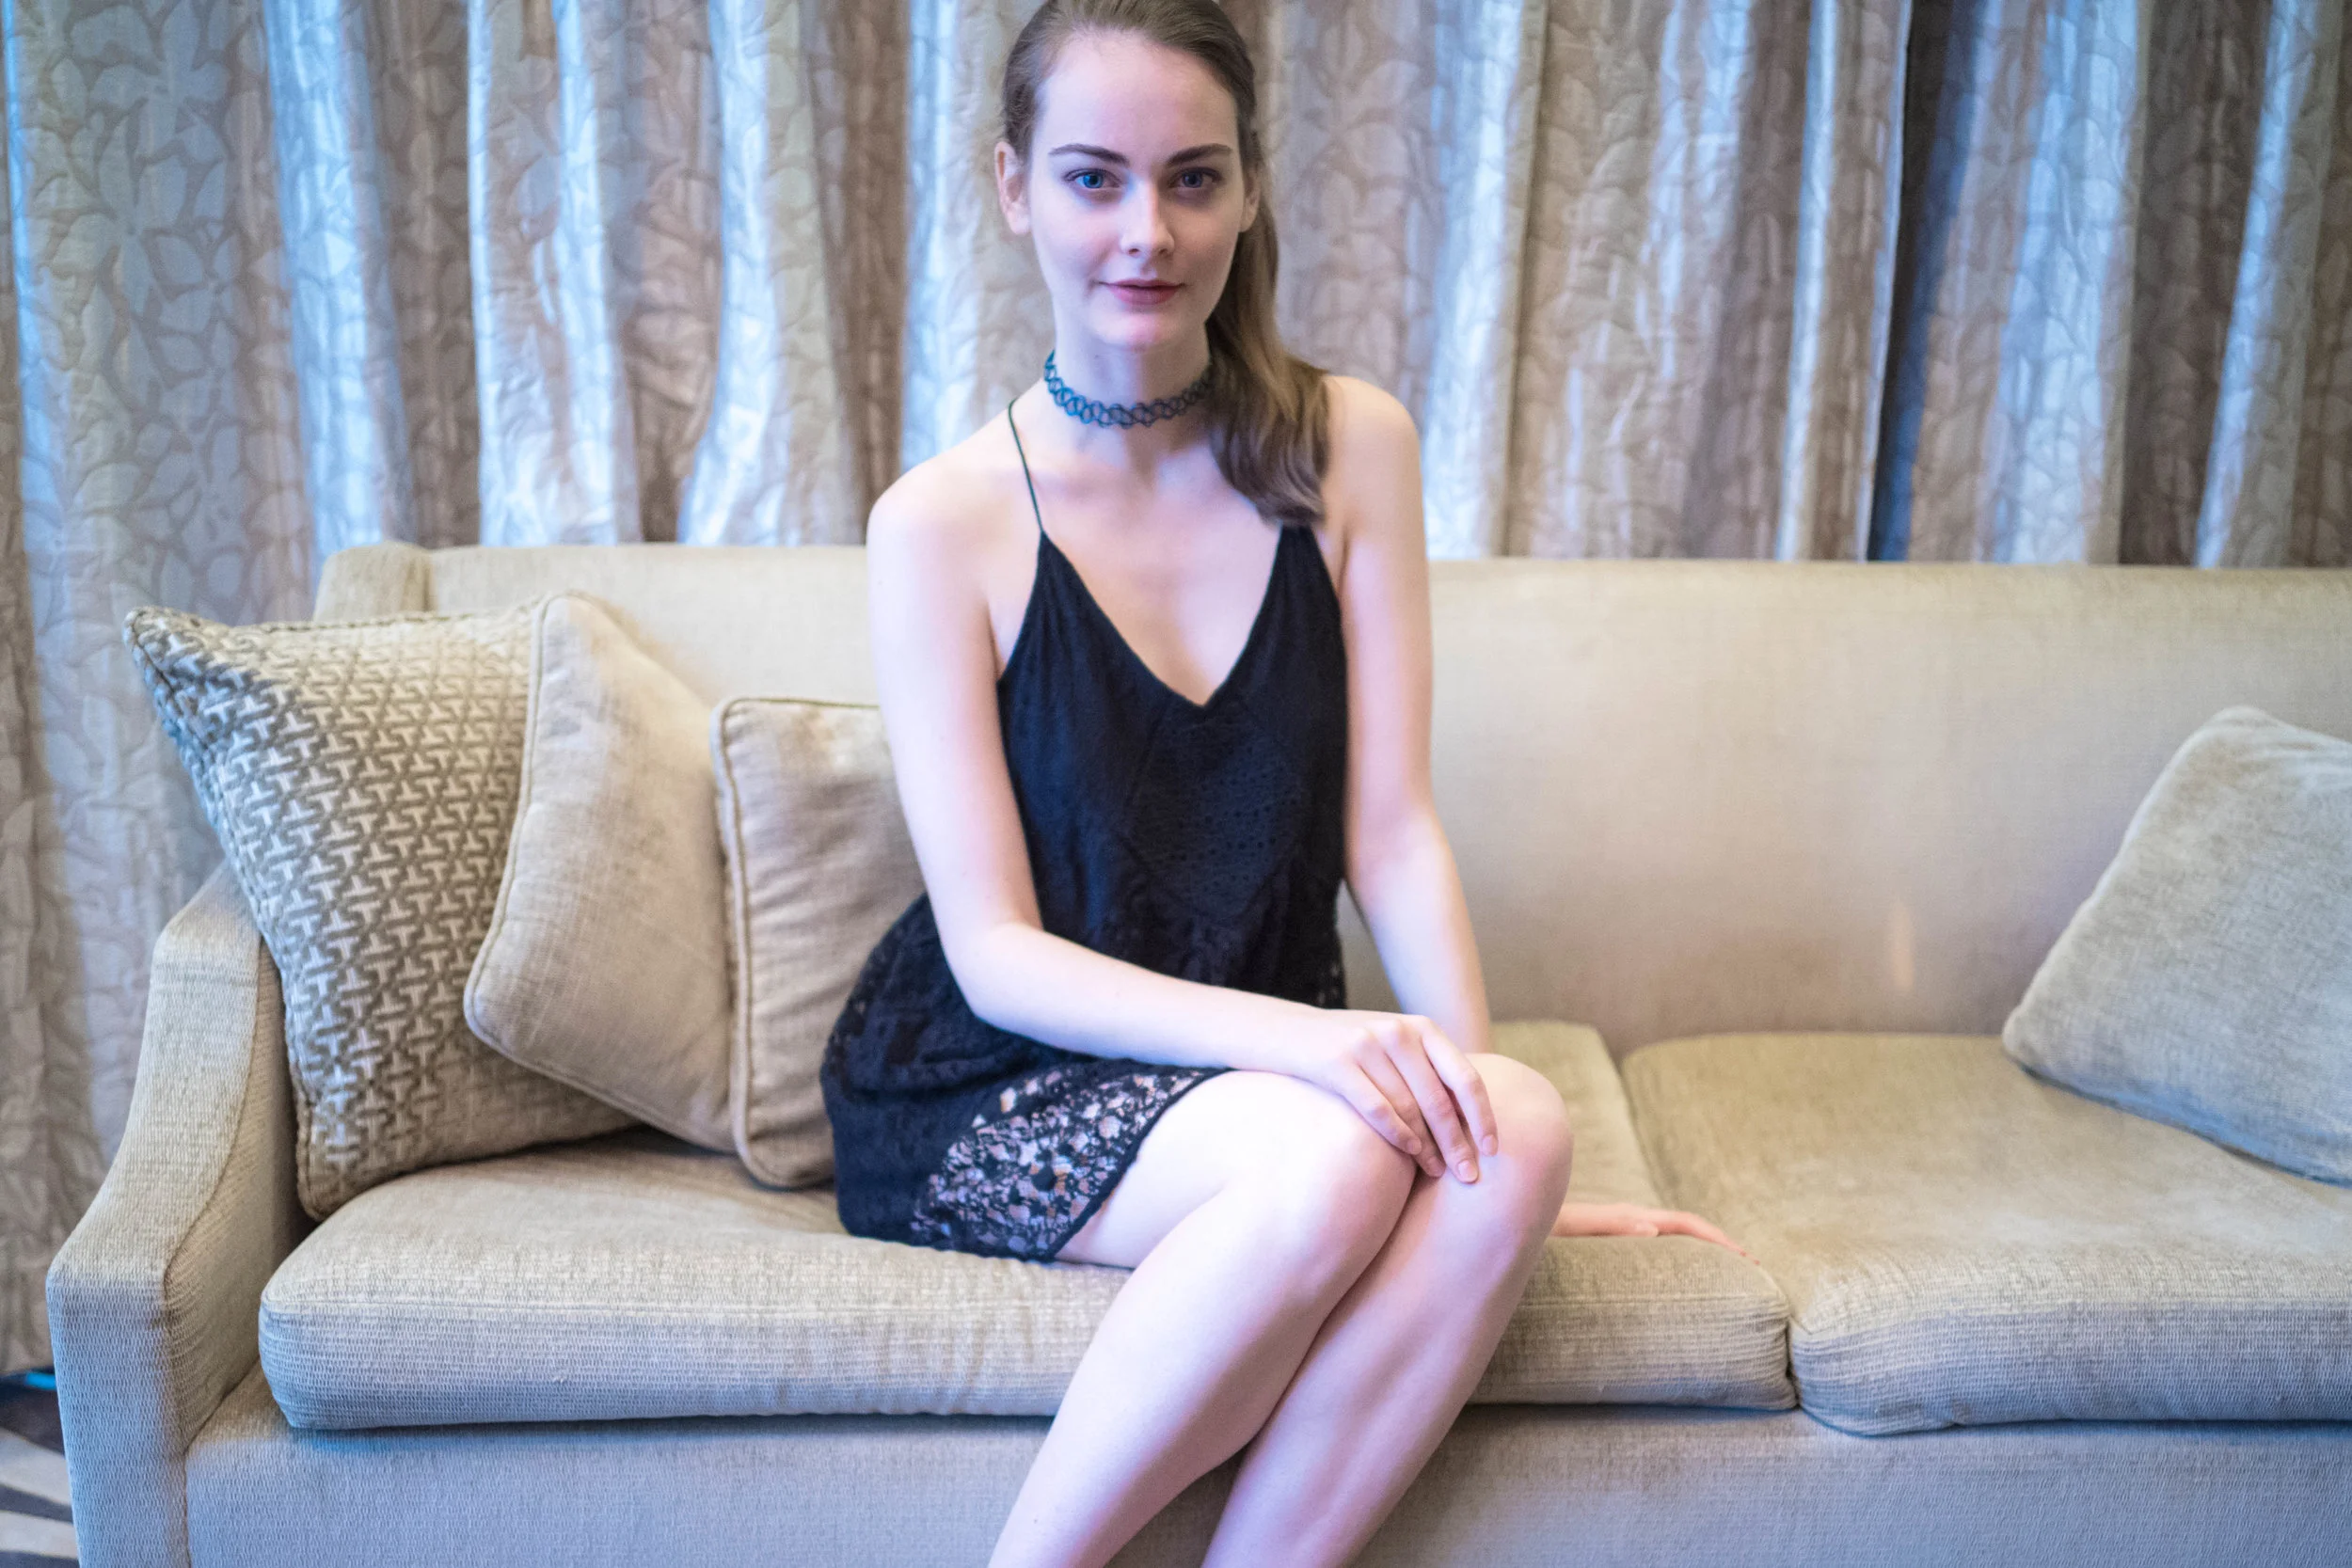
The title image of this post was shot blindly with less than a split second. The subject was looking straight at me, just as I turned around to face her. It was for me a perfect image in my head. She was just coming into the light, wearing a green shoulderless maxi dress, with a produce stand, largely in shadow behind her - also very green. I just took the shot, and hoped for the best. In the end, the image was slightly out of focus, and very distorted, given the short focusing distance from the 28mm lens. I had to do a noticeable amount of vertical and horizontal transformation in Lightroom, in addition to a rotational correction. The focus was improved with the camera shake reduction filter in Photoshop. The image was exported large from Lightroom, and downsized in Photoshop. After all that work in post, this image became usable.
This was a photo opportunity, when I suddenly turned around. I was relatively close to the subject when I took the shot. The resulting image files had a significant amount of perspective distortion. I had to do a considerable amount of vertical and horizontal transformation to make this image usable.
I was twenty feet away from the subjects, when I saw them both put a plastic fork into their mouths. I didn't think they were going to leave the forks in their mouths indefinitely, so I had to run over quickly. Once there, I took no chances, and snapped a photo waist level. Unfortunately, I misjudged the angle of my camera. Most of the image was on the top right hand corner. As a result, there was considerable perspective distortion on the near subject's head. To fix the photo in Lightroom, I had to crop the image, straighten the rotation, and leave white spaces in the frame to be exported along with the rest of the image to Photoshop. In Photoshop, I had to skew the image on both the left hand bottom corner, and the right hand top corner. When that was done, I had to crop the image some more, to remove the white spaces. After that, the image became usable.
This is another image shot at close focusing range from a weird angle. I had already taken a clean shot of this subject from a further distance, so this was actually my insurance shot. In truth, I could have just deleted this file, but I liked the close-up detail of the subject's lace top. To fix it, I had to do some horizontal and vertical transformation, along with straightening the image rotationally. Once I did all that, the image became usable.
So as you can see, sometimes it's worth your while to not delete a badly photographed image. You might be surprised. It could be saved in post, with Lightroom and Photoshop.
Of course, there will be photographers out there with the perspective that this is cheating. To those purists - yes, this is cheating. I admit it freely. But speaking as a content creator who is more interested in getting the image for the sake of content, cheating is fair game, as long as you get the image.
Getting the image is all that counts. In the end of the day, no one is going to care how good a photographer you are if you didn’t get the image. Getting the image is the only thing that anyone is going to remember. But with that said, taking bad photographs and fixing it in post isn't something one should rely on. It's a last ditch effort to get that desired image, when there isn't a better option.
A side note: With all these saved images, I will not post the original badly photographed images. Whatever images I post online of my street subjects, I will never post any that makes them look bad. To post a bad image of them would not be cool.
Last, I don't photoshop the image to change the content of the image. I only edit in post to repair mistakes.